
Backing up the private key of the pending request
Click the Start Button, select Run, type mmc and select OK

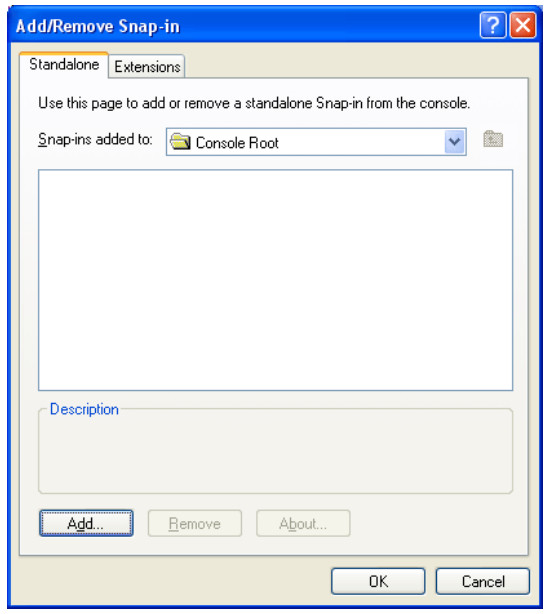
Click File and select Add/Remove Snap in

Select Add
Select Certificates from the Add Standalone Snap‐in box and click Add

Select Computer Account (NOTE: This step is very important. It must be the computer account and no other account) and click Next

Select Local Computer and select Finish

Close the Add Standalone Snap‐in box, click OK in the Add/Remove Snap in Return to the MMC.
Look for a folder named Request or Certificate Enrolment Requests. Under this folder, you can see the Certificates folder. You can see the corresponding key for the certificate request key that you made earlier.
Select the key that you want to back up.
Right‐click the key, click All Tasks, and then click Export.

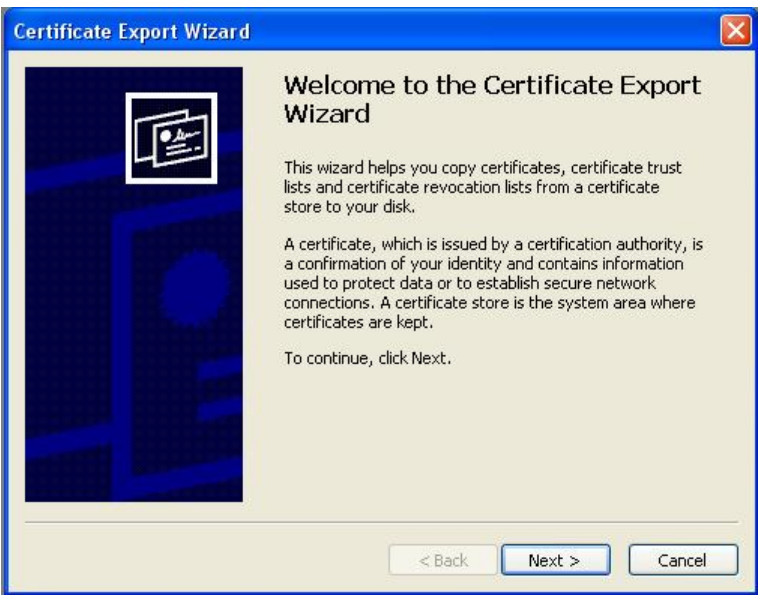
When the Certificate Export Wizard starts, click Next on the Welcome page.
Select Yes, export the private key, and then click Next.

On the Export File Format page, accept the default settings, and then click Next. Note that Enable
strong protection (requires IE 5.0, NT 4.0 SP4 or above) is selected.

Type and confirm a password for the private key, and then click Next.

On the File to Export page, save the key (which is a .pfx file) on a set location, and then click Next. It is important to make a copy of the private key that does not reside on the actual server in case the server crashes.

Click Finish. You receive a message that states that the export was successful.

Note : If you do not have the backup of the private key of the pending request, you must make a new certificate request, because there is no way to install the certificate for the corresponding request once it is removed or lost.
Import the backup copy of the private key of the pending request
If you have a backup copy of the private key of the pending request, follow these steps to import the private key:
Click the Start Button, select Run, type mmc and select OK

Click File and select Add/Remove Snap in

Select Add

Select Certificates from the Add Standalone Snap‐in box and click Add

Select Computer Account (NOTE: This step is very important. It must be the computer account and no other account) and click Next

Select Local Computer and select Finish

Close the Add Standalone Snap‐in box, click OK in the Add/Remove Snap in Return to the MMC.
Look for a folder named Request or Certificate Enrolment Requests. Under this folder, you can see the Certificates folder.
Right‐click the Certificates folder, click All Tasks, and then click Import.

When the Certificate Import Wizard starts, click Next

Locate and select the private key (.pfx) file of the pending request that you backed up, and then click Next.

Type the password for the private key (this is the password that you specified when you backed up the private key for the pending request), and then select Mark the Private key as exportable. Click Next.

Select Place all certificates in the following store. Make sure that the default certificate store is REQUEST, and then click Next.

On the Completing the Certificate Import Wizard page, click Finish. You receive a message that tells you that the import was successful.

The private key of your pending request is now restored.